
Recently Geohot releases the new tool called Towelroot to root most of the device with one click, with this application you can easily root your nexus device without using computer. One the device is rooted you can enjoy lots of rooted app and tweaks on your mobile. But to install Custom ROM or themes on your device you need a custom recovery. Normally, installing a custom recovery involves using your PC and executing complicated ADB commands. Now you can install the same on your Nexus or any other android device. Today in this tutorial we will show you how to install custom recovery on android without using PC and ADB commands.
The guide is pretty simple and takes few minutes to complete the setup. All you need a free android application called Flashify. The application is free to download and available on the Google play store. So lets take a look how it works.
Install Custom Recovery without Computer
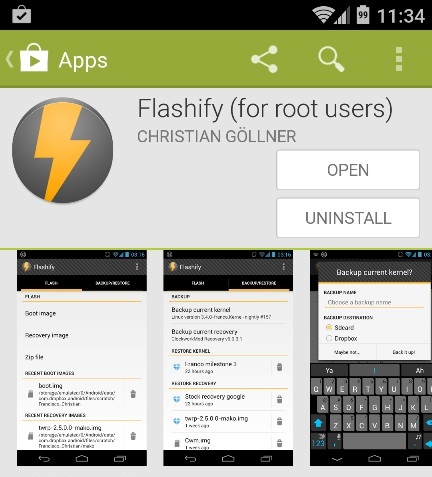
Go to the play store on your device and install the Flashify (for root users) application. You can find the direct link of the application at the end of this post.
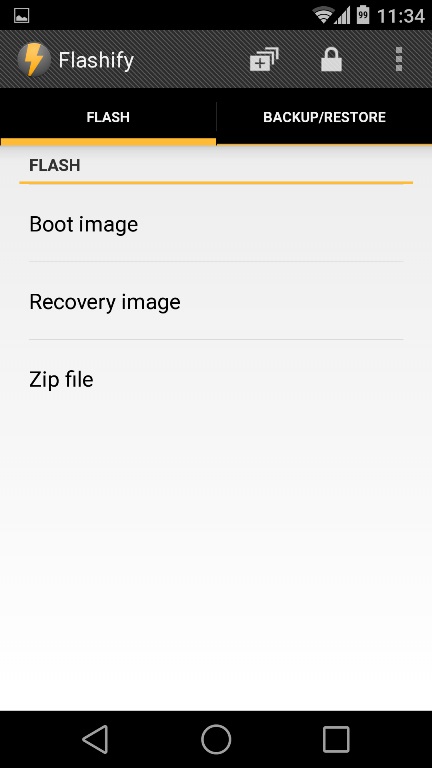
Once the application is installed, run it on your device and on the very first screen you will options like ‘Boot Image’, ‘Recovery Image’ and ‘Zip File’. Form here select the ‘Recovery Image’ option to install the custom recovery.
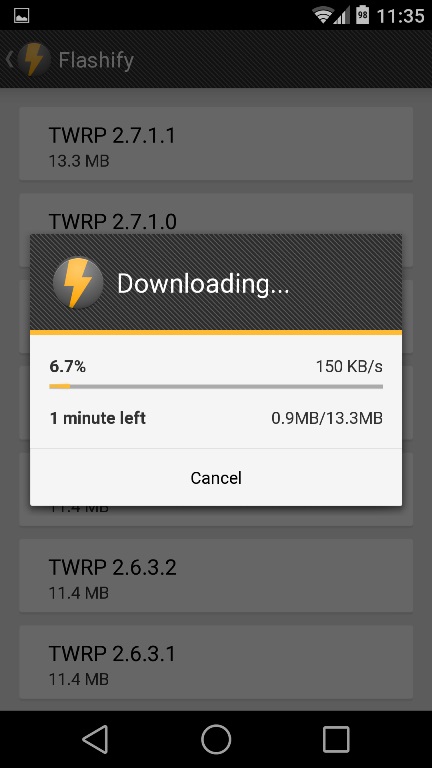
This will give you a list of all the custom recoveries that are available for your device. The best one of the lot is Team Win’s TWRP Recovery.

Choose the latest version from here, which is the top result. Now the recovery will start downloading on your device, once the download is done you’ll be asked if you want to flash this file. Tap the OK button and the flashing process will start on your device.
When it’s finished, hit Reboot now to check out your new custom recovery. Now the custom recovery is installed on your nexus device.
Download Flashify (for root users)